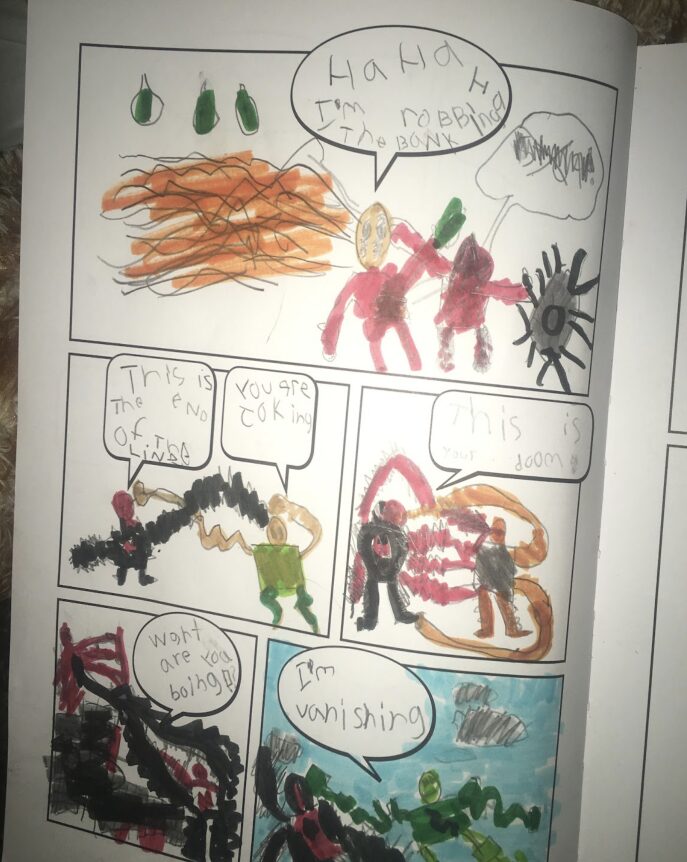
Goal:
To create several speech bubbles utilizing the voice of the Pigeon or the Bus Driver to understand the voice of different characters in a narrative story. The second step is to transfer their learned skill to give voice to inanimate objects. This lesson lends itself to students using language and semantic cues to understand differences in voice when reading a story.
Specific Learning Objectives:
- Students will learn how to draw two characters from the story.
- Students will learn how to recognize the differences of two very different voices in a story.
- Students will be able to describe and verbalize the characteristics of different voices and identify what makes them unique.
- Students will be able to create their own speech bubbles and write from one of the two distinct voices from the story.
- Students will learn how to use speech and thought bubbles to highlight different voices in text and in their own writing.
- Students will be able to transfer what they learn to be able to give voice to an object of their choice.
Prior to the Lesson:
Prior to the lesson the students will have a special item from during the Zoom meeting to use in their writing for the week.
Introduction/ Hook:
We will read the story, Don’t Let The Pigeon Drive The Bus, by Mo Willems. Discuss who the two voices in the story belong to. Using dry erase board list the different traits of each voice and discuss how we know who is talking. Explore creating several speech bubbles and see if you can recreate what the author did to make a character come alive. Compare the two different voices and develop a list of ideas that help tell who is talking in a particular frame without using a picture.
Day 1
When done with modeling what the different voices look and sound like, try creating your speech bubbles. Share writing with the other people in the family and have them try guessing whose voice they have shared. This gives an opportunity to celebrate the success of using good choices in creating voice and discuss what would be needed to make it more obvious if you could not tell which voice was written.
Day 2
On the second day review voice again and discuss what you know about how to use certain traits to make a voice come alive in writing. Try using, a singing bowl or bell. Discuss briefly why it is important to you, and then brainstorm what the bowl would say if it had a voice. Model a think-out-loud strategy to make the process transparent. Create speech bubbles for the singing bowl. Answer questions such as, “What would I say when I am happy?”, “What do I sound like when I speak softly?”, and “What helps me most when I want to speak to my friends?” Using this process problem solve how to help your child see what your object looks like and sounds like if it could talk. Try a few different objects and repeat this process to come up with voices for other objects.
Day 3
Follow the same process from the day before with one other object. Create a list of things to help when you get stuck and can’t think of ideas for your voice. Have the child share an object and say one thing about its voice. Then use their object to independently write several speech bubbles from the voice of their object. Students will share their work when finished. Read the speech bubbles out loud and students will try to guess what item’s voice is speaking. Debrief and discuss what you have learned about voice.
Follow up lesson
Using the Pigeon story without narration your child will get to take turns using different voices in the story.

Assessment
Student’s body of work from your writing for voice from Pigeon story and personal item exercise as well as an optional storyboard writing assignment.
